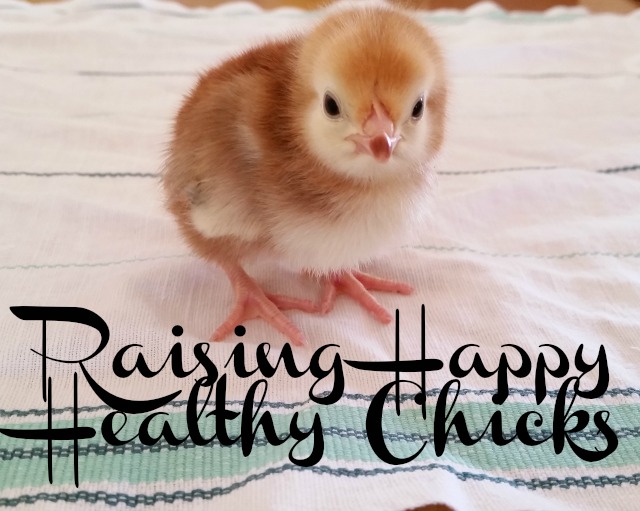
It’s that time of the year again…Baby Chicks have arrived!
This is a rather lengthy post chock full of great information so grab a cup of coffee, get comfortable and enjoy.
This will be our 4th season raising chickens and since we did not incubate or buy any new chicks last year it was time to restock the coop.
Over the years, our chicks have provided delicious eggs which have allowed us to manage a successful egg business. An over abundance of roosters has also helped to fill our freezer. There really is nothing quite like fresh chicken and knowing where your food comes from.
I am by no means an expert on raising chickens, but I have learned a thing or two in the last fours years and these are the things I wish to share with you. At the end of my post, I have provided links to chicken blogs and websites where you can find more info on chickens and raising them.
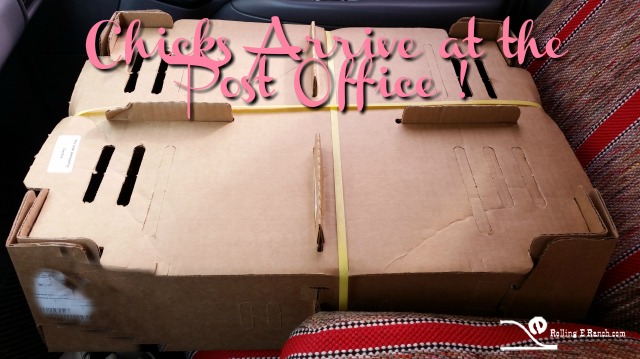
When I lived in the city, I never gave any thought to where baby chicks came from, nor did I care. But, now that I live in the country, I have since learned that chicks can come in the mail or from the feed store (who gets them in the mail). Yes, believe it or not, chicks get mailed.
What generally happens is once they hatch, the chicks are boxed up and mailed that same day, and arrive at their new home two days later. I want to assure everyone that this is not cruel for the chicks. They can exist for three days after hatching without needing food or water.
How is this possible you might ask? Before the chicks hatch, they absorb the egg’s yolk in to their abdomen through their umbilical cord. The yolk provides them with the nutrition they need for the three days in the mail until they arrive at their destination. I have read that this process allows the chicks to survive until the mother hen has hatched all her chicks and can start foraging for food.
Sometimes, not all the chicks survive the trip. In my case, of the 75 mailed chicks, 2 died, and that was the day after they arrived. I also had one from the feed store die. Having a 100% survival rate can be difficult to achieve.
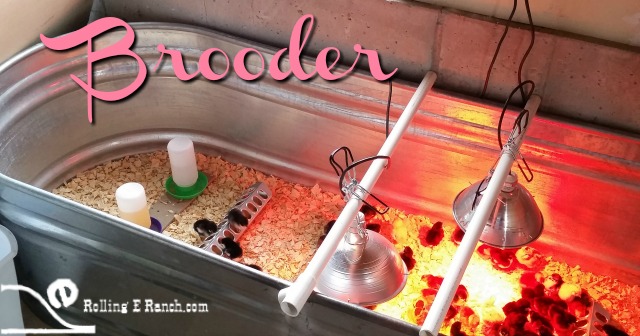
Right now I am using a large galvanized watering trough as our brooder. Hubby is in the process of finishing up our new brooder house, but until it is done, the chicks are in the basement.

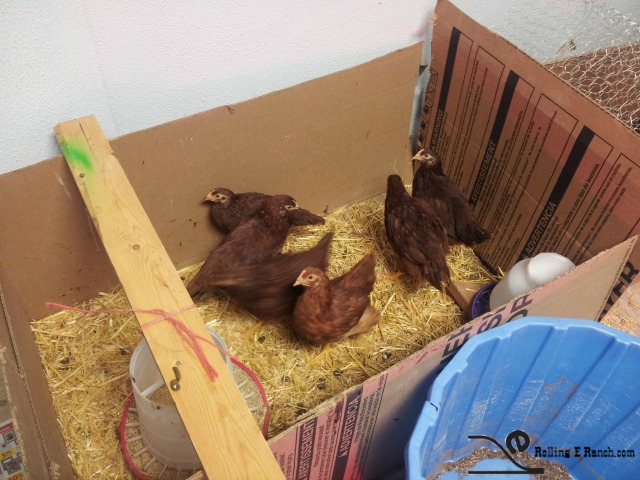
In the past, I have used cardboard boxes and plastic tubs for small amounts of chicks and while this worked fine for the first couple of weeks, the chicks quickly outgrew their brooders.
The downside to using cardboard boxes is they can become wet as the chicks can spill their water, especially as they get larger, So I would suggest if you are using a cardboard box, have several more on hand so that you can replace one if it does get wet,
The other possible issue with boxes is their square corners. Sometimes chicks will panic and all pile up together in a corner and some can get smushed. Sort of like a stampede at a soccer match. The best way to get around this is to tape cardboard in the corners to form a curve.
You may also need to expand the size of your box as the chicks grow. These Rhode Island Reds started out in a much smaller box. I ended up duct taping two boxes together to increase the size.
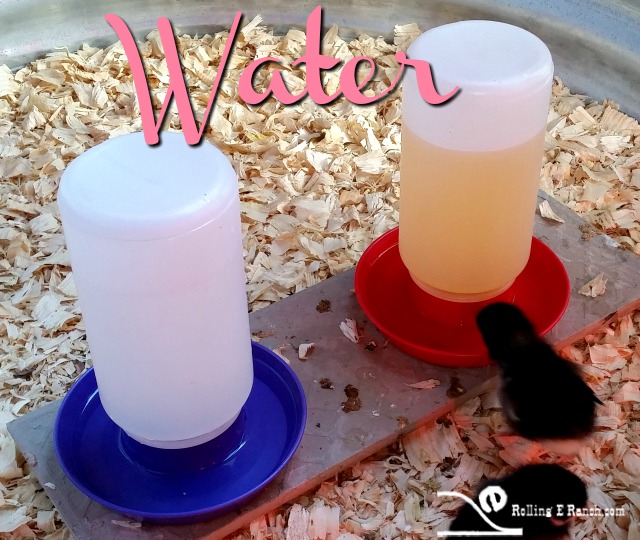
The first three days after the chicks arrive, I put both Probiotics and Electrolytes (these come in packets and are made by Save-A-Chick) in half of the chicks waterers and just plain water In the others. After three days, I put apple cider vinegar in the water at a rate of approximately 1T per gallon. ACV is supposed to have health benefits for the chickens…I can’t say for sure that it does, but I figure it can’t hurt.
I start with the waterers placed on top of floor tiles that I had laying around, flipping them over so that the rough side is what the chicks walk on. As the chicks grow, I continue to raise the waterers higher so that it is harder for the chicks to kick bedding into the water. As a general rule I change the water daily and clean the waterers weekly.

I try to keep things simple…I feed medicated Starter Grower chick feed for the number of weeks that the bag recommends. The Medicated feed helps to protect the chicks from Coccidiosis, a common and deadly intestinal disease that is spread in fecal matter.
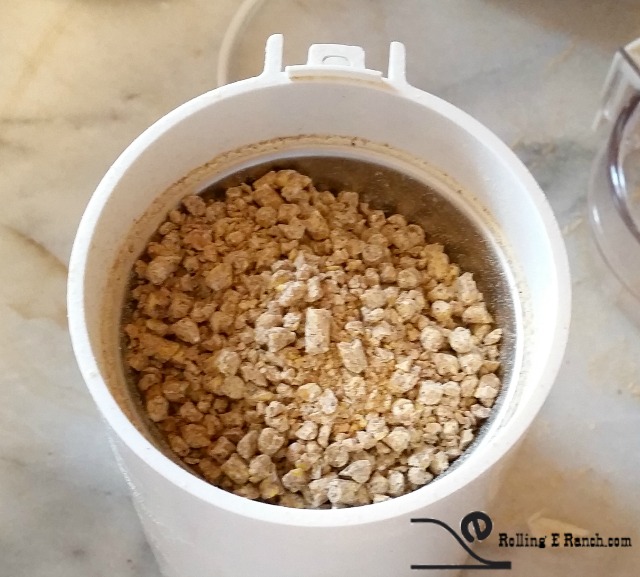
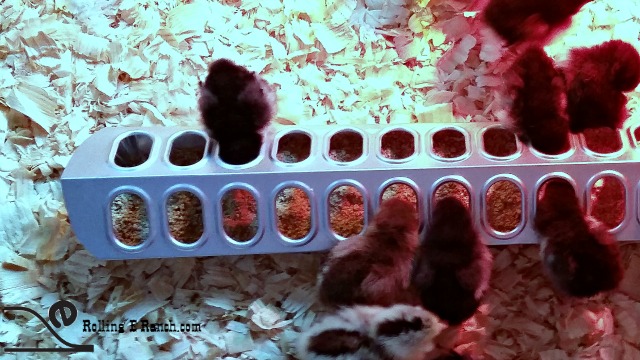
The Neutrena chick feed is something new I am trying out this year. I use Neutrena for our adult chickens as well as our turkeys and have been very happy with it. What I don’t like with the chick feed is the pellets are too large for the little chicks to eat, at least right now.
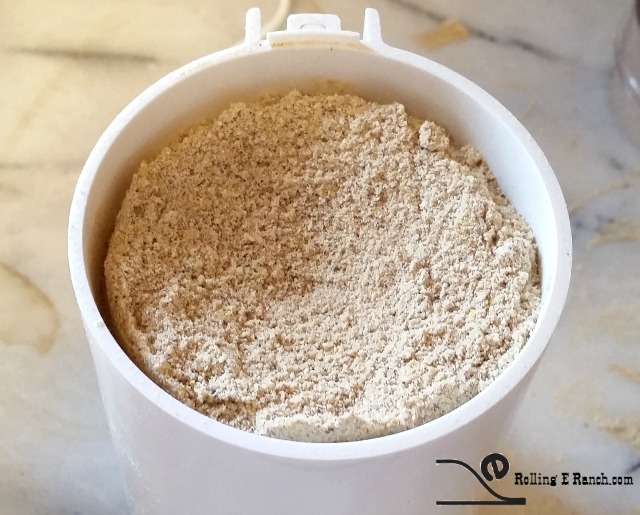
I solved this problem by grinding up the feed in a coffee grinder until it was the consistency of graham cracker crumbs. I will start putting out some of the unground feed in the next couple of days and monitor whether the chicks are eating it or not.
As far as the amount of feed, I make sure that there is always food available.
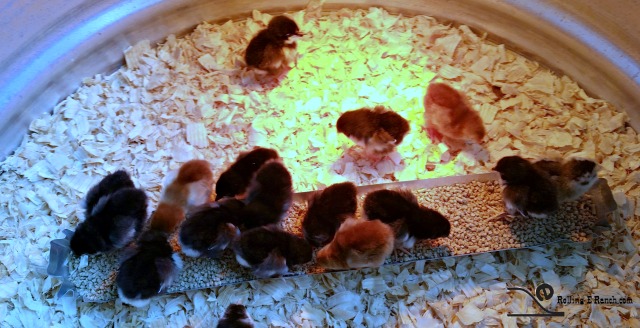
I like using the long trough feeders as I can put out a lot of food at one time. If I don’t put on the top, the chicks do tend to kick the food around and poo in it, but when they are still little I think it makes it easier for them to eat.
You can see that the chicks are not as thrilled with having the top on the feeder. But, as they get older I will put the top on to save feed.
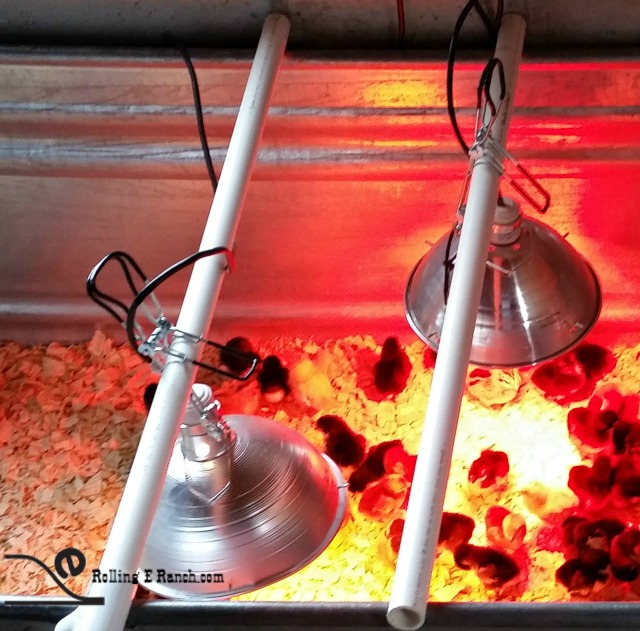
Heat is critical for the health and survival of the baby chicks. They do not start out life with feathers and until they do feather out completely, at about 8 weeks, they need artificial warmth. There are plenty of opinions as to what the temperature should be at what age and how often it should be adjusted. The most common formula is to start the chicks at about 95 degrees and then decrease the temperature by 5 degrees per week. My feeling is that people were raising chicks long before we had heat lamps or even thermometers and they survived. I am not saying you don’t need to keep the chicks warm, you do. I just don’t subscribe to the strict temperature changes that many folks use.
What has worked for me is to hang up the heat lamps and see how the chicks respond. If they are all clustered under the lamps then it is too cold in the rest of the brooder. If they are distributed around the brooder, then most likely the temperature is just right
As the chicks grow, I move the lamps higher.
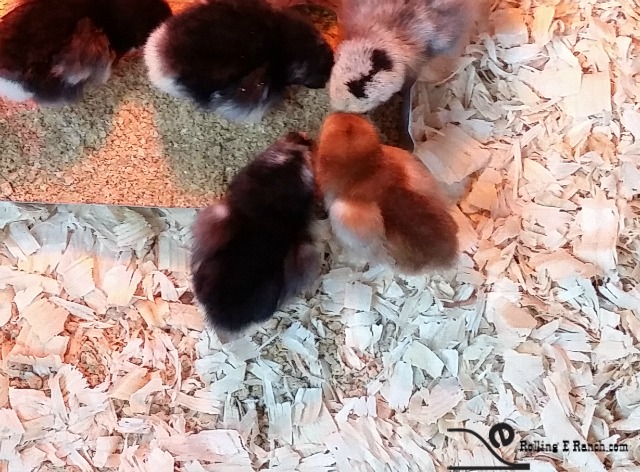
When I only had a few birds, I would line the brooder with paper towels so that the chicks would have a stable surface to walk on. This year with so many chicks, I am using large wood shavings that I get at the feed store.
They are an easy surface for the chicks to walk on, they are absorbent and they smell good. I fluff them up every few days so that they don’t become compacted with waste and depending on the condition of the bedding, I will either add fresh bedding or remove the old and replace it.
OK, this issue is really called Sticky Butt or Pasty Butt (seriously) and can be fatal if not treated quickly. It occurs when poop gets caught in the feathers and blocks up the vent, preventing the chick from eliminating. In other words, a sticky, pasty mess!
Not all chicks will have this issue, but if they do, you should run their bottoms under warm water until the poo softens and comes off. This can take patience so don’t be tempted to pull off the poo as this can rip the skin. Dry the little guy off when he is clean and apply a little Vaseline around the vent area to help prevent further issues.
Be vigilant and check the chicks a few times daily if possible. I find that sticky butt usually clears up within the first week, but as with everything else, there are always a few exceptions :).
What chicks did I decide to raise this year? You will have to wait for my next post to read all about the wee little beasties.
Or, if you subscribe to my blog by adding your email in the sidebar to “Follow me by Email”, you will automatically get all of my posts in your in box.
Resources
Want to learn more about chickens? Check out these great sites!
The Chicken Chick
Fresh Eggs Daily
Backyard Chickens
American Poultry Association
My Pet Chicken
Hobby Farms
Until next time, Happy Trails!

